September 25, 2026
A blank wall is one of the quiet frustrations of renting. You want the place to feel like yours, but every nail feels like a negotiation with your deposit. It doesn't have to be that way. With a sensible plan, the right removable fixings and a bit of patience, you can hang real art — at the right height, holding properly — and take it all down on moving day without leaving a mark.
Plan the wall before you touch it
Start by working out what the wall is made of, because that decides everything else. Modern flats often have plasterboard, which sounds hollow when you tap it. Older houses tend to have lath-and-plaster or a hard skim over brick, and both can crumble if you rush. Lining paper and wallpaper are the fragile ones: adhesive strips can lift the surface when they come off, so treat those walls with extra care.
Then weigh your art. A kitchen scale is perfect for this. A glazed A3 print can weigh a kilogram or more once the frame and glass are counted, and anything with a mirror climbs quickly. Note the figure down — you'll need it when you choose a fixing.
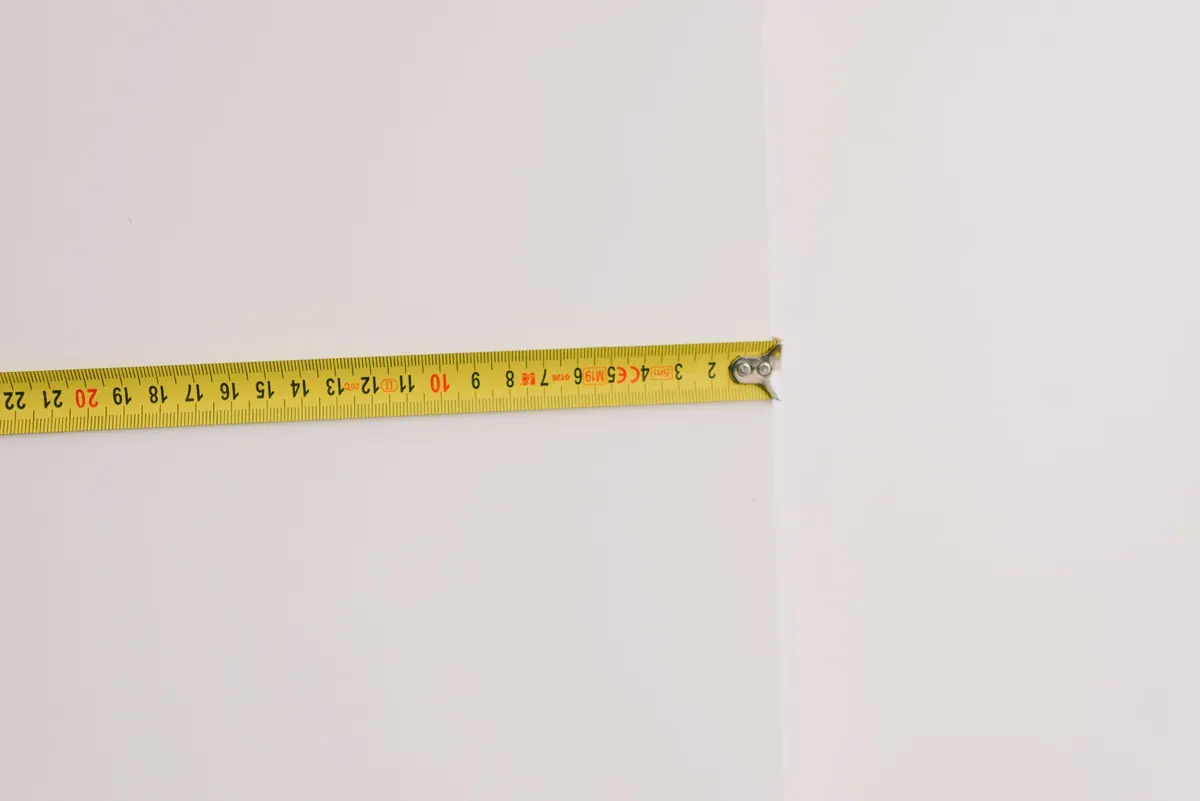
Finally, plan the position. Measure the width of the piece, decide the height using the guidelines below, and mark the spot with a strip of low-tack masking tape rather than a pencil. Tape comes off cleanly; pencil marks on matt emulsion often don't.
Choose the right removable fixing
A quick tour of what's available, and what each one suits:
- Removable adhesive strips (the velcro-style pairs sold for pictures). Best on smooth, painted, well-cured walls. Two pairs will hold a small frame; larger pieces need more. Not suitable for wallpaper or textured finishes.
- Adhesive hooks. Good for lightweight canvases and unframed prints. Cheap, easy and genuinely removable — but they hold far less than most people assume.
- Pin hooks and fine picture nails. A tiny hole is not the disaster it sounds. On a solid wall these hold far more weight than adhesive, and a dot of filler makes the mark disappear.
- A picture rail, if you have one. Use it. Hooks sit on the rail, the cord hangs down, and the wall stays untouched.
- Freestanding options. Picture ledges, a slim shelf, or simply leaning a large canvas on a sideboard. Nothing to fix at all.
Whatever you choose, read the stated weight limit on the packet and stay comfortably below it. Fresh paint, dust and damp all weaken adhesive, so if the wall was decorated within the last couple of weeks, wait.
Getting the height and layout right
A few conventions make the difference between art that looks intentional and art that looks like an afterthought.
The classic guideline is to put the centre of the picture at roughly 145–150 cm from the floor, which is about eye level for most adults. In a room where you're almost always seated, it can sit a little lower.
Above furniture, leave 15–25 cm between the top of the sofa or sideboard and the bottom of the frame. Closer than that feels cramped; much higher and the art floats, disconnected from anything.
If you're hanging a group
Treat the whole arrangement as one shape. Lay it out on the floor first, aim for even gaps of around 5–8 cm, and keep the outer edges aligned. Then cut paper templates to the size of each frame, tape them to the wall and leave them there for a day. You'll spot problems — a frame crowding a light switch, a group sitting too high — before you've committed to anything.
Apply adhesive strips so they actually hold
The most common reason removable strips fail is impatience. Follow the order:
- Clean the wall with warm water and a little washing-up liquid, or an alcohol wipe, then let it dry completely.
- Mark the position on your masking tape, not on the wall itself.
- Press the wall-side strip on firmly for a full 30 seconds, working from the centre outwards.
- Attach the matching strip to the back of the frame and press for another 30 seconds.
- Wait at least an hour before hanging — overnight is better. The adhesive needs time to bond.
- Press the frame onto the wall strip and hold for 30 seconds.
Avoid adhesive fixings above radiators, in bathrooms, or anywhere that gets steamy. Never reuse a strip that has already been pulled off, and keep a spare pack so you don't have to.
Take it all down cleanly
When moving day comes, slow is the whole technique. Lift the frame away from the wall strip first, then deal with the strips one at a time. Pull the tab straight down, close to the wall, and stretch it slowly. Pulling outwards or yanking is what takes paint with it.
If a strip refuses to budge, warm it gently with a hairdryer on a low setting for twenty or thirty seconds and try again.
Any residue left behind usually comes off with warm soapy water and a soft cloth. A little baby oil on a cloth works too — test on a hidden patch first, especially on matt paint.
Small nail holes are easy to deal with: a dab of fine surface filler, left to dry, sanded lightly with fine paper, then touched up with matching paint. Keep the tin the landlord left behind, or ask your letting agent which colour the walls are. If your tenancy agreement is vague about fixings, or a deposit dispute comes up, it's worth checking with your letting agent or a tenancy advice service before you assume anything.
Before you drill anything
Two habits will save you a lot of worry. First, photograph the wall before you hang and again after you've taken everything down. It costs nothing and settles most deposit conversations. Second, keep a small repairs kit — fine filler, fine sandpaper, a touch-up brush, a cloth — so a tiny mark becomes a five-minute job rather than a week of dread.
And remember that a picture rail, a ledge or a leaning canvas are all perfectly good solutions. A rented room can still feel like yours; it just asks for a little more care with the fixings.
Photo: Pexels / Pixabay